Q:"Can Sony Vegas merge clips that are separated by split tool? If so, anyone can tell me how to do it?" - Mian
As is known to all, Sony Vegas is one of the most popular and full-featured video editors. But it is indeed not that friendly for users, especially for novices. There are many people try to make use of Sony Vegas to merge several clips together. However, if you are new to it as well as lack of experience in editing, you're suggested to read through this tutorial carefully before operating. It shares a complete guide to join clips on Sony (Magix) Vegas, meanwhile recommends a Sony Vegas alternative for you to furtherly consider.
Part 1. How to Merge Clips in Sony Vegas (Vegas Pro)
Sony Vegas, as one of the most professional video editing software, provides quite a lot of remarkable functions for users. With its help, users can nicely join and cut clips, add special effects, edit subtitles, remove noise from videos, and generate Dolby 5.1 surrounding sound, etc. Now we'll show you how to merge clips in Sony Vegas (Vegas Pro). You can combine two or more videos with either the same or different formats.
Step 1 Import clips to Sony Vegas (Vegas Pro)
First of all, launch Sony Vegas Pro. After that, choose the "File" option in the top left corner and hit on "Import" from the drop-down menu. Next, touch "Media" icon from a side menu to browse your local files. Just choose clips that you want to merge. It's available to select multiple videos from the same folder with Ctrl -Click.

Step 2 Add videos to timeline and align them
Next, drag these imported video clips to the timeline. A pop-up window will show to ask if you'd like to set your project video settings to match the media. Simply click Yes. Afterward, remove undesired sections from clips, change the order of every clip, add cool effects and filters as you wish. Note that Vegas Pro will automatically create a crossfade between the video clips.
Step 3 Merge clips in Sony Vegas Pro and Save

Press Ctrl + A keys together and click "File" to pop up a window. In the toolbar of this new window, please choose "Render As...". Subsequently, choose an output directory and an output format as well as setting the file name and resolution. As soon as these are done, touch "Render" to start merging and saving clips into one.
Part 2. How to Merge Clips in Sony Vegas Alternative - VideoKit
Supposing that you still find it complicated to merge clips in Sony Vegas even after reading the stepwise guide above, the proposal is to apply an optimal alternative - VideoKit - Video Joiner. It is a user-friendly video editor that comes with a clean and straightforward layout. No technical skill will be required while operating. Even much less experienced, you can as well manage it cleverly.
This low-budget video editing toolkit ideally offers an ability to merge clips with a high degree of freedom and flexibility. Its lossless mode is committed to joining video clips/audio tracks without quality loss at 60X speed while the encoding mode gives you the option to customize media files professionally. It can well support numerous formats, such as MP4, MKV, FLV, MPEG, AVI, MOV, 3GP, etc.

- Merge any video clips losslessly in 1:1 quality
- Customize resolution, frame rate, codec, etc.
- Support all kinds of video and audio file formats
- Combine as many video clips as possible
- More tools to convert, cut, record, compress, watermark, etc.
Step 1Launch video joiner and add clips
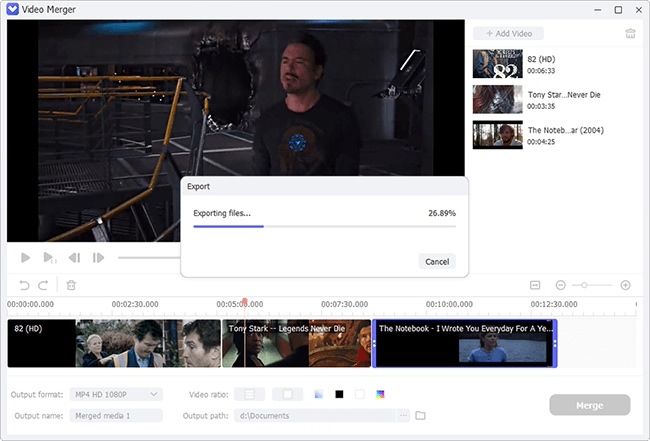
Put all these clips into one file folder first. Then download and install VideoKit on your computer. Afterward, launch it, start "Video Joiner", and drag the file folder storing your clips into the program. By the way, clicking "Open File" in the bottom left corner can easily import videos too.

Step 2Select merging mode and export format
When all clips have been loaded, it is time to tap on "Format" to choose a merging mode and an output format. As mentioned above, the high-speed mode is for losslessly and quickly combining clips of the same format while the encoding mode is to merge clips of different formats and supports customizing video format. Just choose one based on your actual situation.

Step 3Cut clips while previewing
Once selected, touch "OK" to go back to the main interface. Now, you can preview these imported video clips. If find something unnecessary while previewing, you just slide the timeline to delete it. Also, renaming and reordering video clips are allowed.

Step 4Edit clips as you like
Those who select encoding mode to merge clips have the ability to hit on "Edit" to edit every clip, such as rotating and trimming video clips, adding visual and sound effects, adjusting aspect ratio, inserting subtitles and watermark, and more.

Step 5Merge clips together
The last thing that you need to do is pressing on "Convert" to start merging these video clips. When the process is finished, access a file named converted in the local file folder to find the merged video clip.


